February 7, 2019 — 4 minutes read
jug osx capture

- Created: February 7th, 2019
- Object: As I was preparing the next evening of the ToulouseJUG I found myself lacking a second mic for our next duet. This post is a note to myself about the setup for recording audio of one or two speakers with the pieces of equipment I have at my disposal, with pictures, so I can come back later and relearn how to do this.
Table Of Contents
One speaker
Hardware setup
For one speaker we will use the Toulouse JUG’s own audio recording hardware which is composed of a Sennheiser FM transmitter and receiver.
The FM receiver is plugged to my MacBook Pro via an XLR -> 3.5mm jack.
But the MacBook Pro does not recognize the microphone as is by just plugging the XLR cable in.
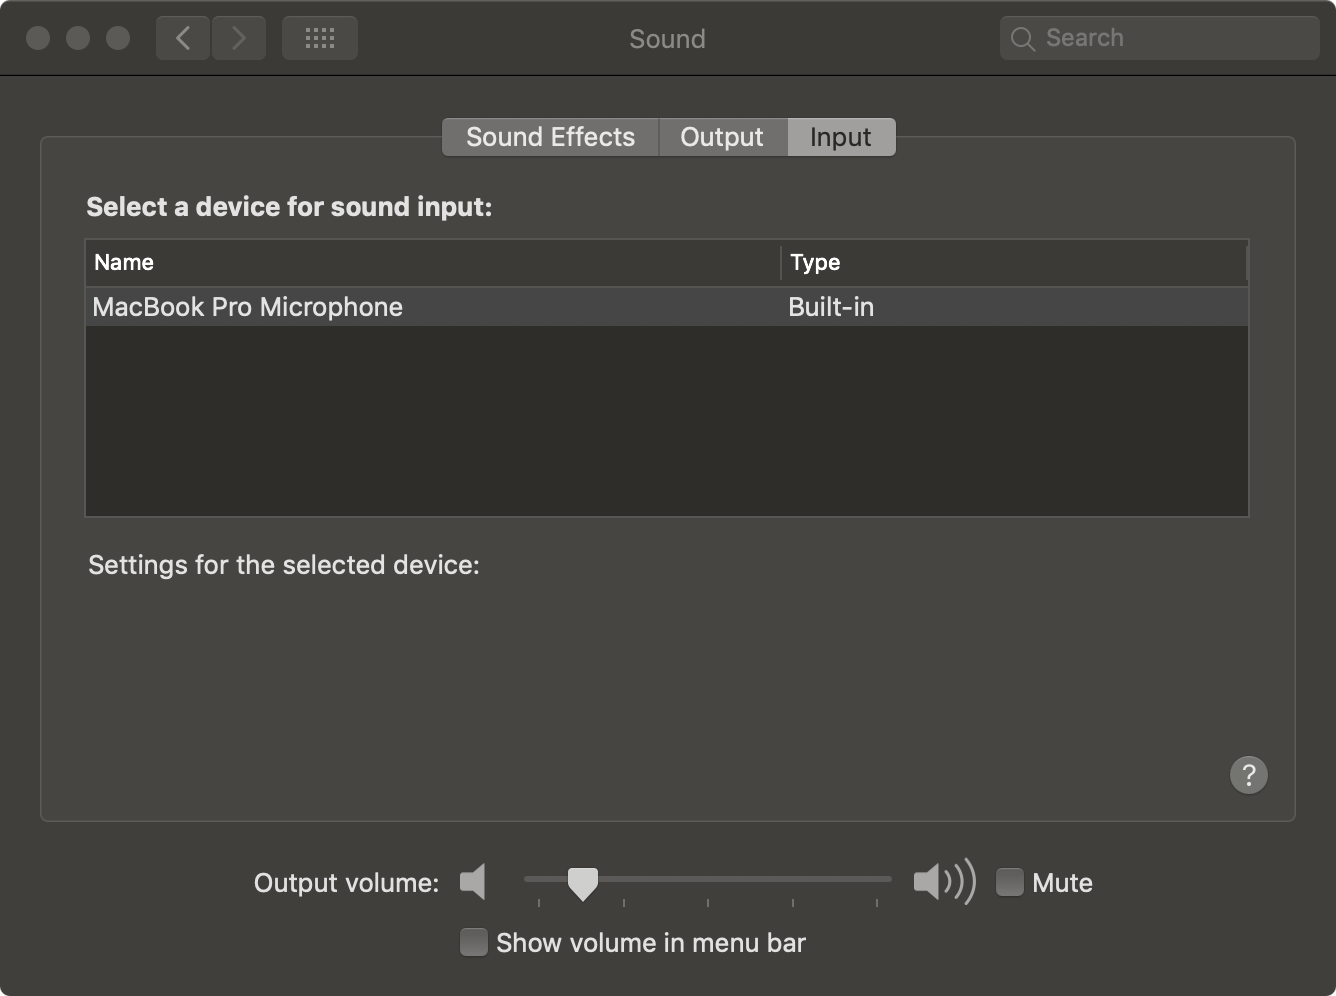
OSX does not recognize the microphone
I’ve followed this video and bought a “TRRS Cable” to plug the XLR cable:
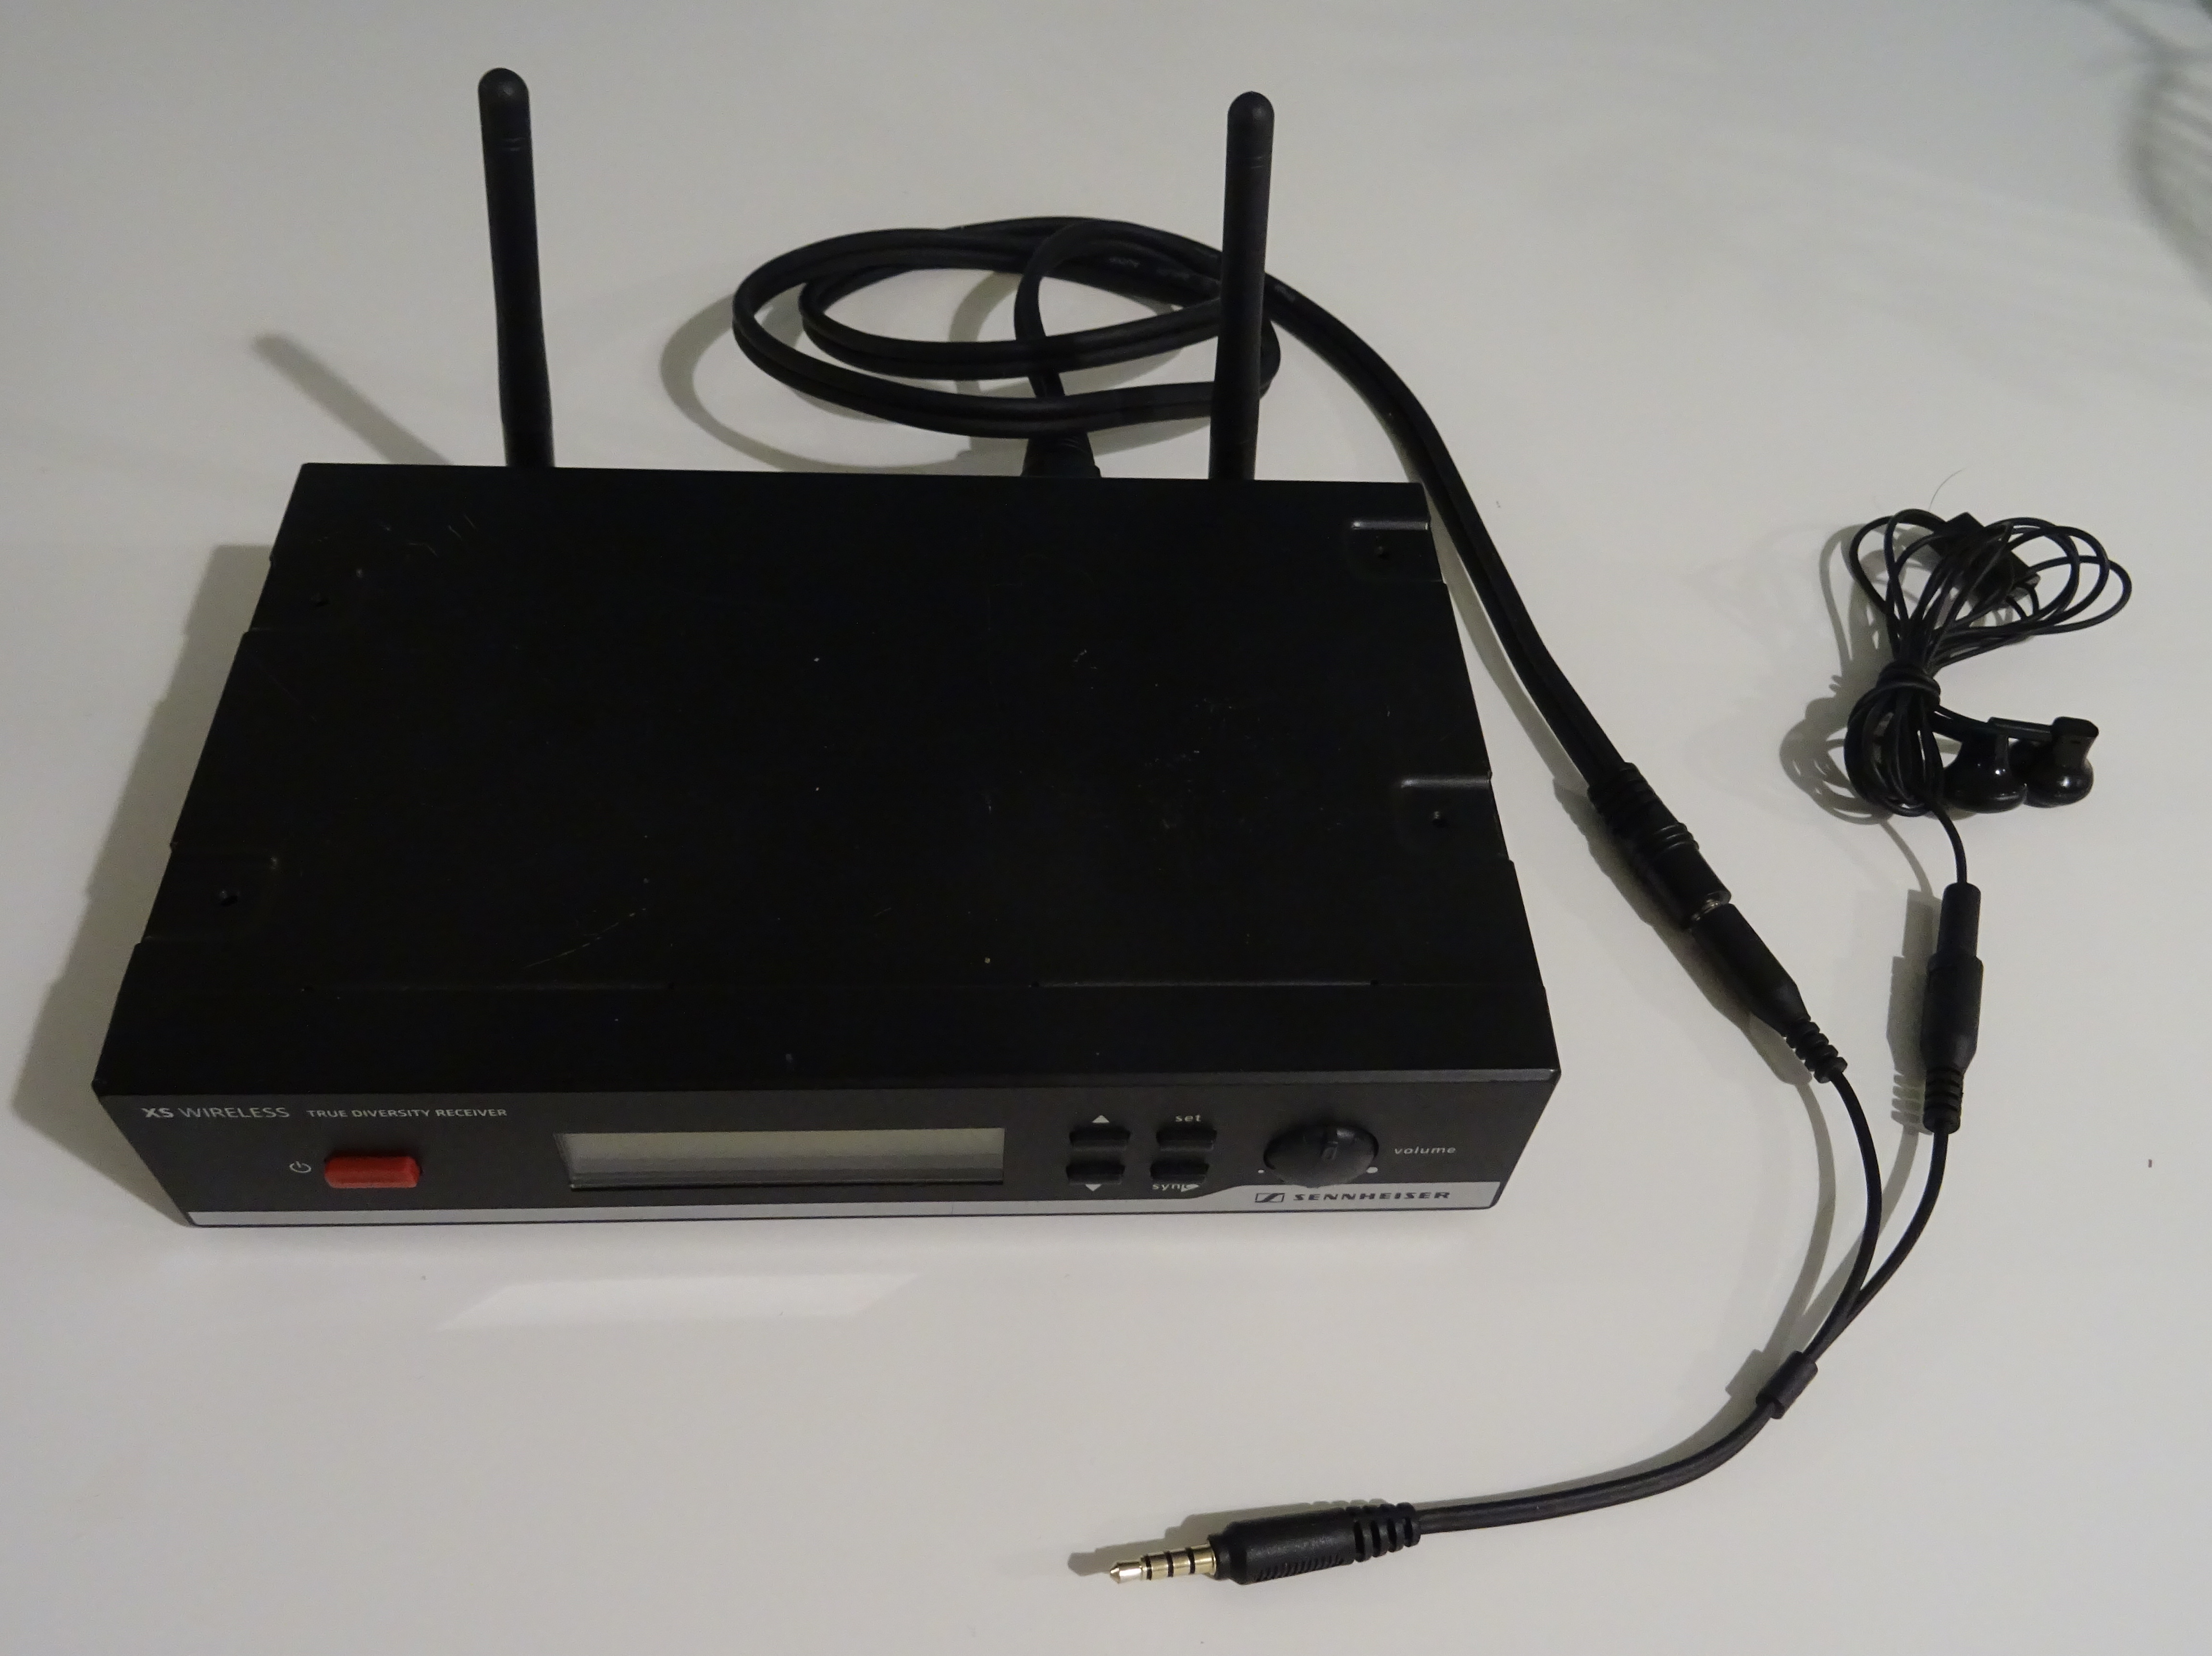
The Sennheiser FM receiver
Note: the headphones are there to monitor the audio input while recording
And then it worked:
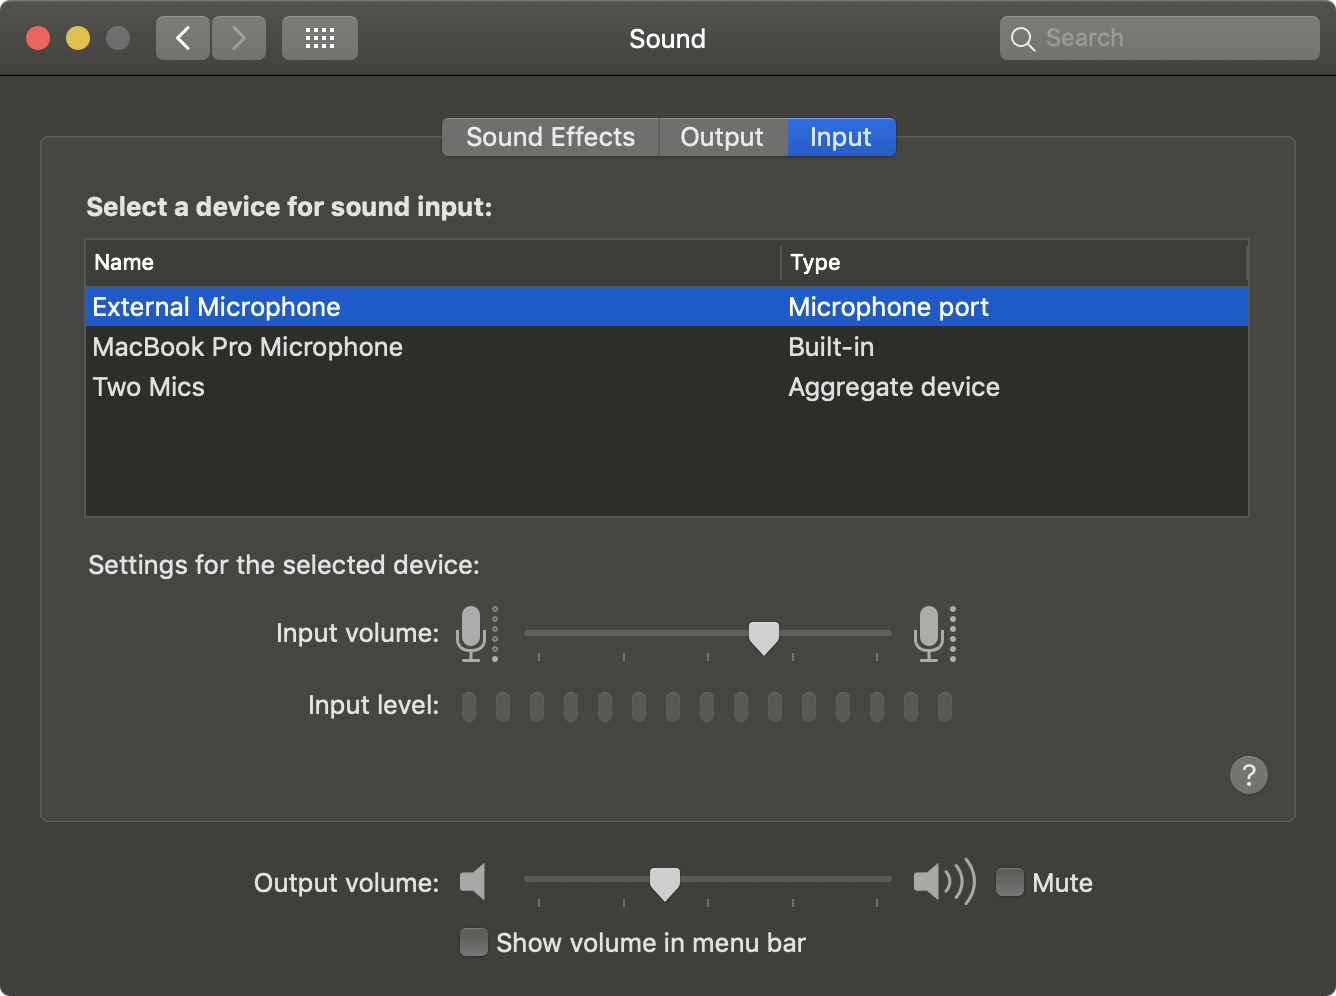
OSX now shows the external microphone
Note: Ignore the “Two Mics” thing for the moment.
Recording from Final Cut Pro X
We can record the audio track of the talk directly from Final Cut Pro X (the software I use for post-processing and final video export).
Simply start a new “Voiceover recording”:

Select the external microphone as the Input and heck the “Monitor On” feature if you
want to monitor the incoming audio feed.
Two speakers
There are 99 two problems when doubling the number of speakers:
- We need a second microphone
- Final Cut Pro X doesn’t support multiple voiceover recordings simultaneously
Hardware setup
So we need another microphone, but the Toulouse JUG only owns one Sennheiser set (headset mic + transmitter + receiver)…
Fortunately, a member of the JUG is able to lend us more audio and video recording hardware. One such piece of equipment is another audio recording set (lavalier mic + transmitter + receiver + some kind of decoder/amplifier, IDK) which is plugged to the receiving computer via a USB-A cable (in this case, my MacBook Pro via a USB-C hub).
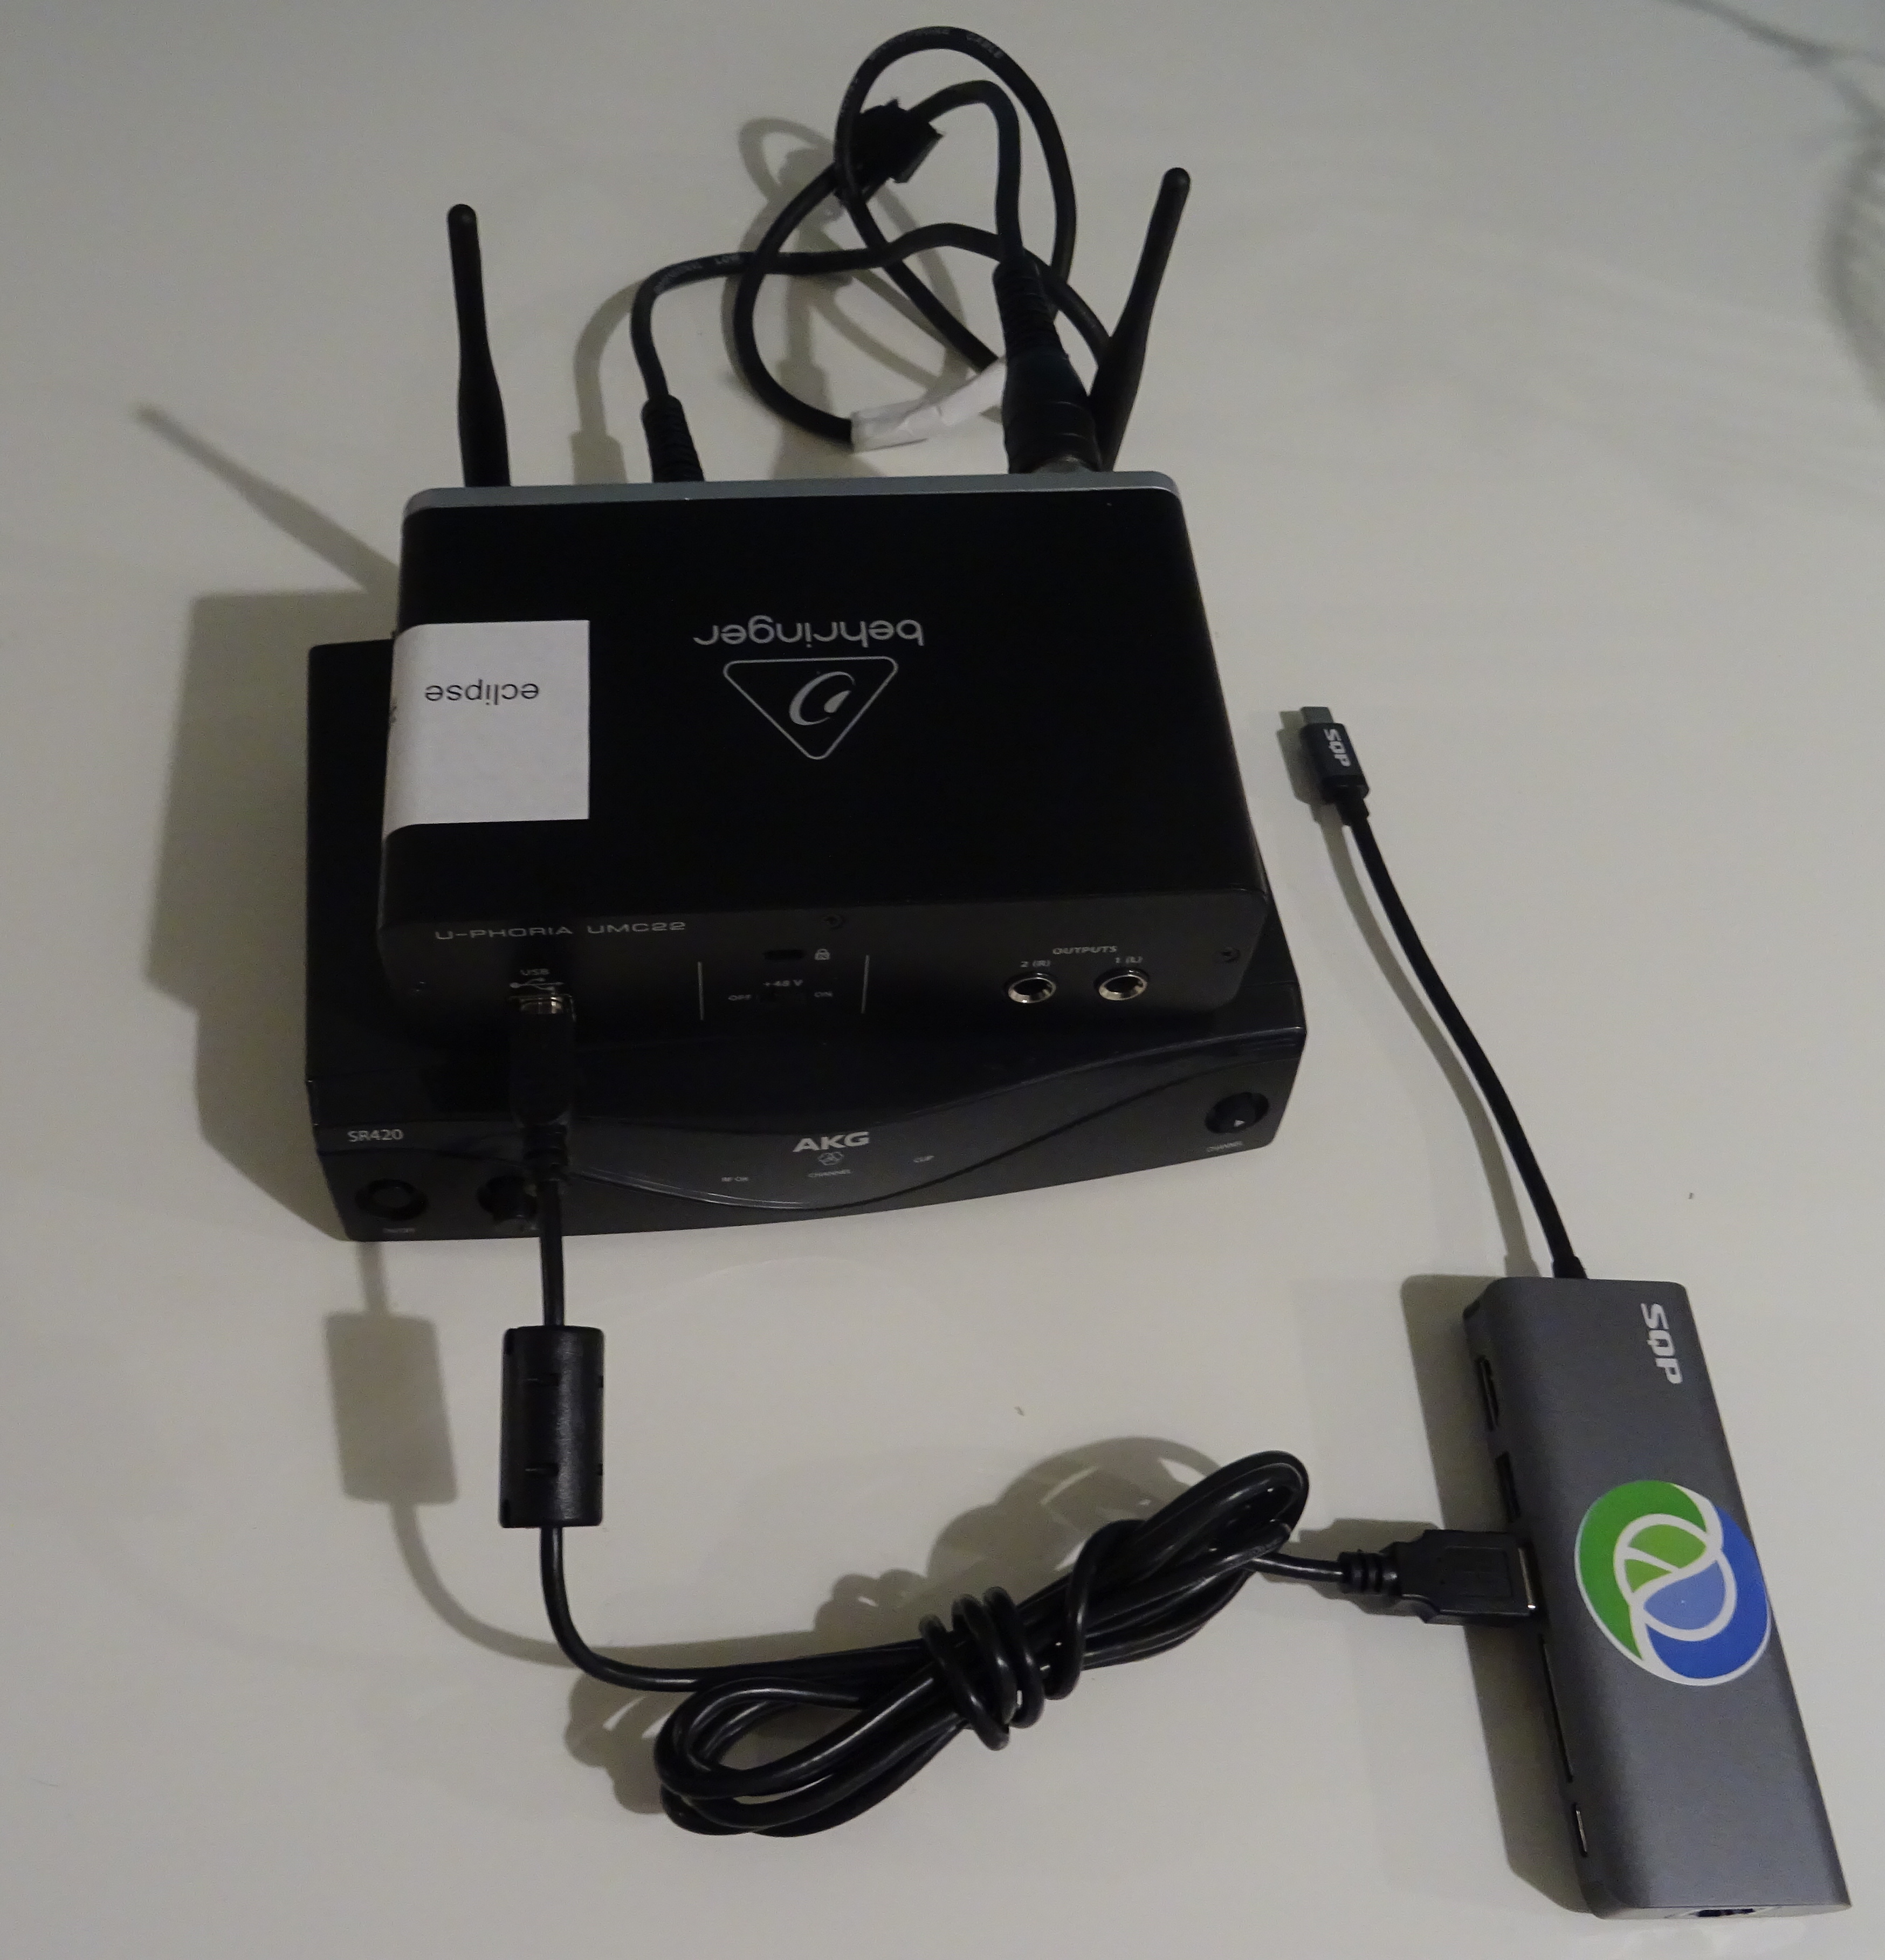
The second audio recording set with USB-C adapter
First, repeat the process above to setup the first microphone, and read on to record both simultaneously.
Audio settings
When plugged to the MacBook Pro, the new microphone is automatically detected:
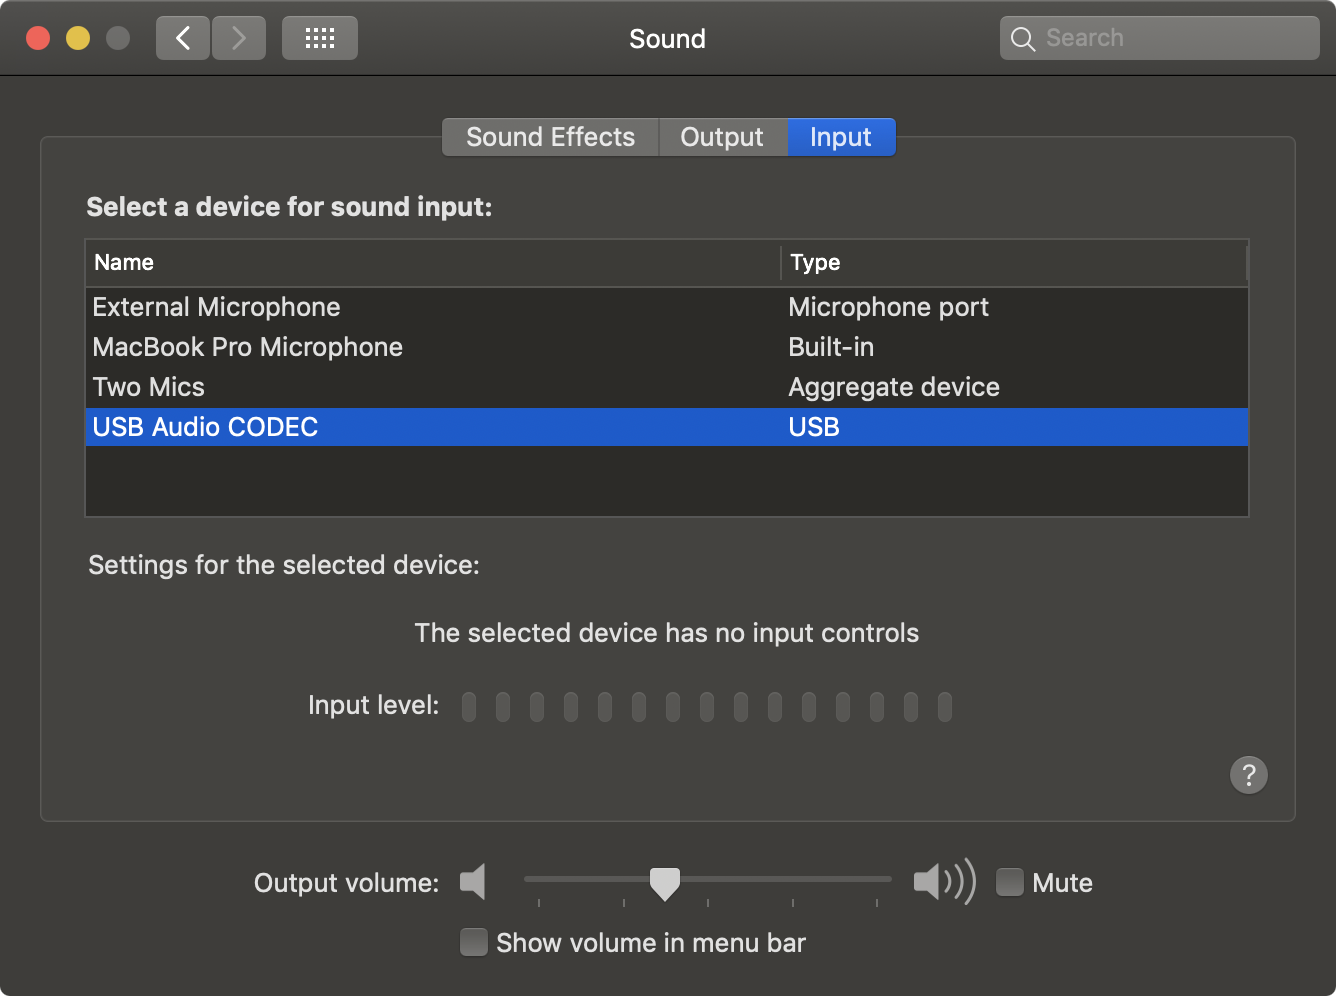
OSX shows the USB microphone
Great but FCPX still doesn’t support multiple simultaneous recordings.
… Well, remember the “Two Mics” thingy? Now’s the time to talk about it.
To bypass this limitation of FCPX I use GarageBand. But in order to use it, as I’ve found in this video, we must first create a new “Aggregate Device”.
Open Spotlight and type “midi”:
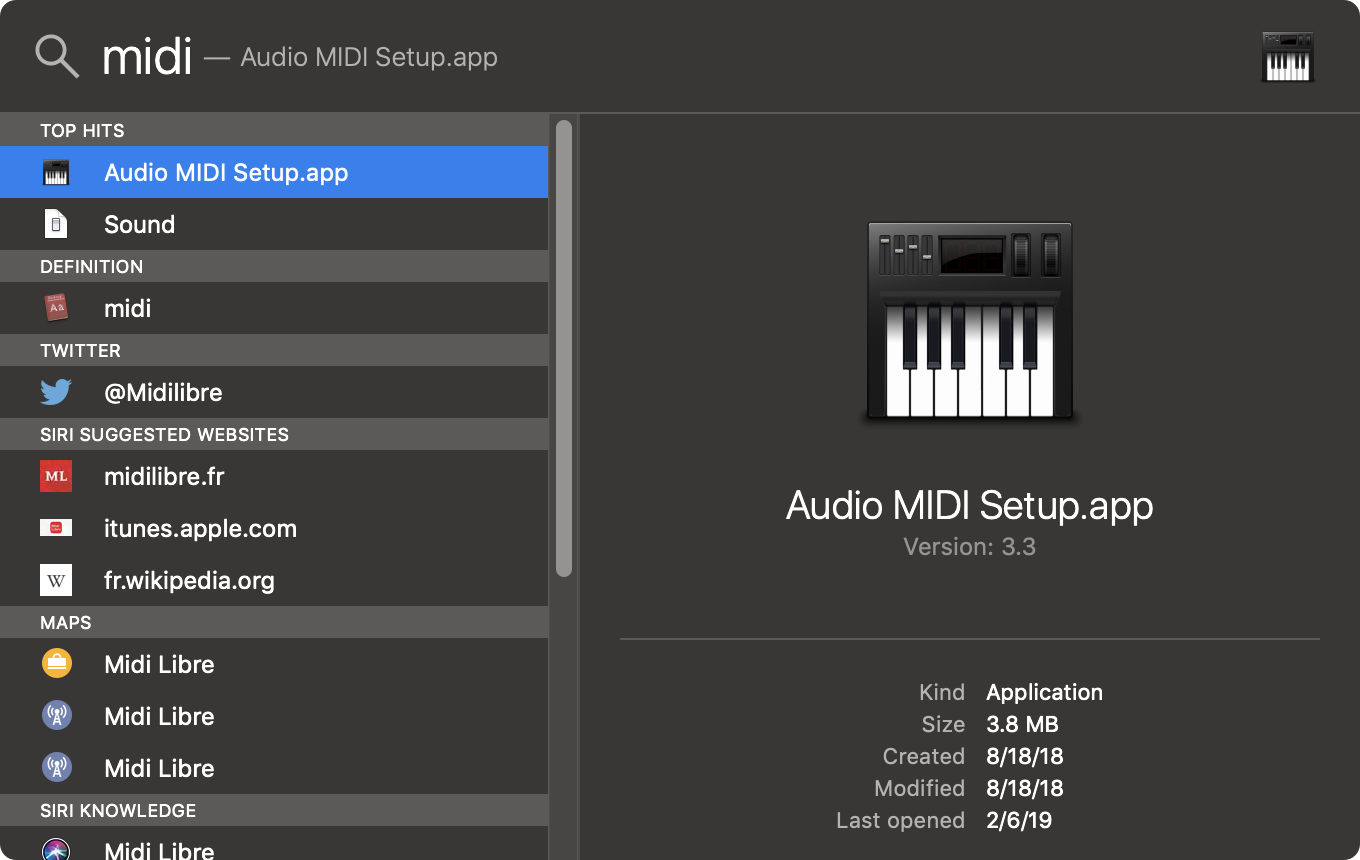
Command + Space then search for "Audio MIDI Setup"
Click on the + sign in the bottom-left corner:

And select “Create Aggregate Device”:
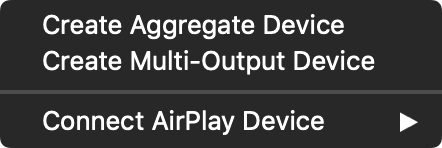
Create Aggregate Device
Then make sure both the “external microphone” (the one we plugged in when we had only one speaker) and “USB Audio Codec” (the one we plugged in via USB just above) have their inputs selected.
I have also selected the external headphones (the ones plugged at the other end of the TRRS cable) and the built-in speakers for good measure. I honestly don’t know if it’s useful or not, but at least it does no harm.
Then give this “Aggregate Device” a name, such as “Two Mics” for instance, and you should have the same config as we saw above:
Now go to GarageBand.
Recording from GarageBand
From GarageBand you will have to open the settings and switch the default devices to your newly created “Two Mics”:
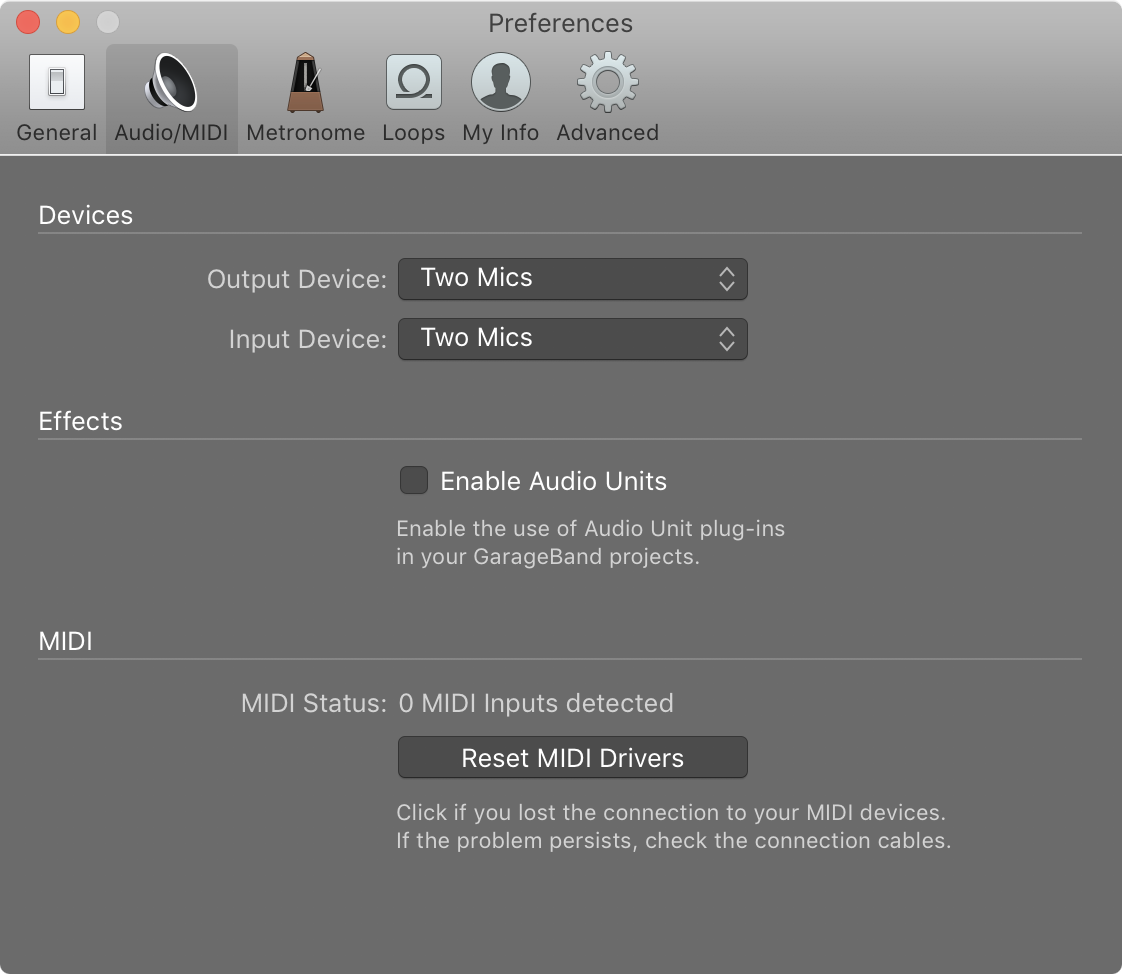
Set GarageBand devices to "Two Mics"
Now add a new track that will record the first microphone, select “Input 1”:

And then add a new track that will record the second microphone, select “Input 3:
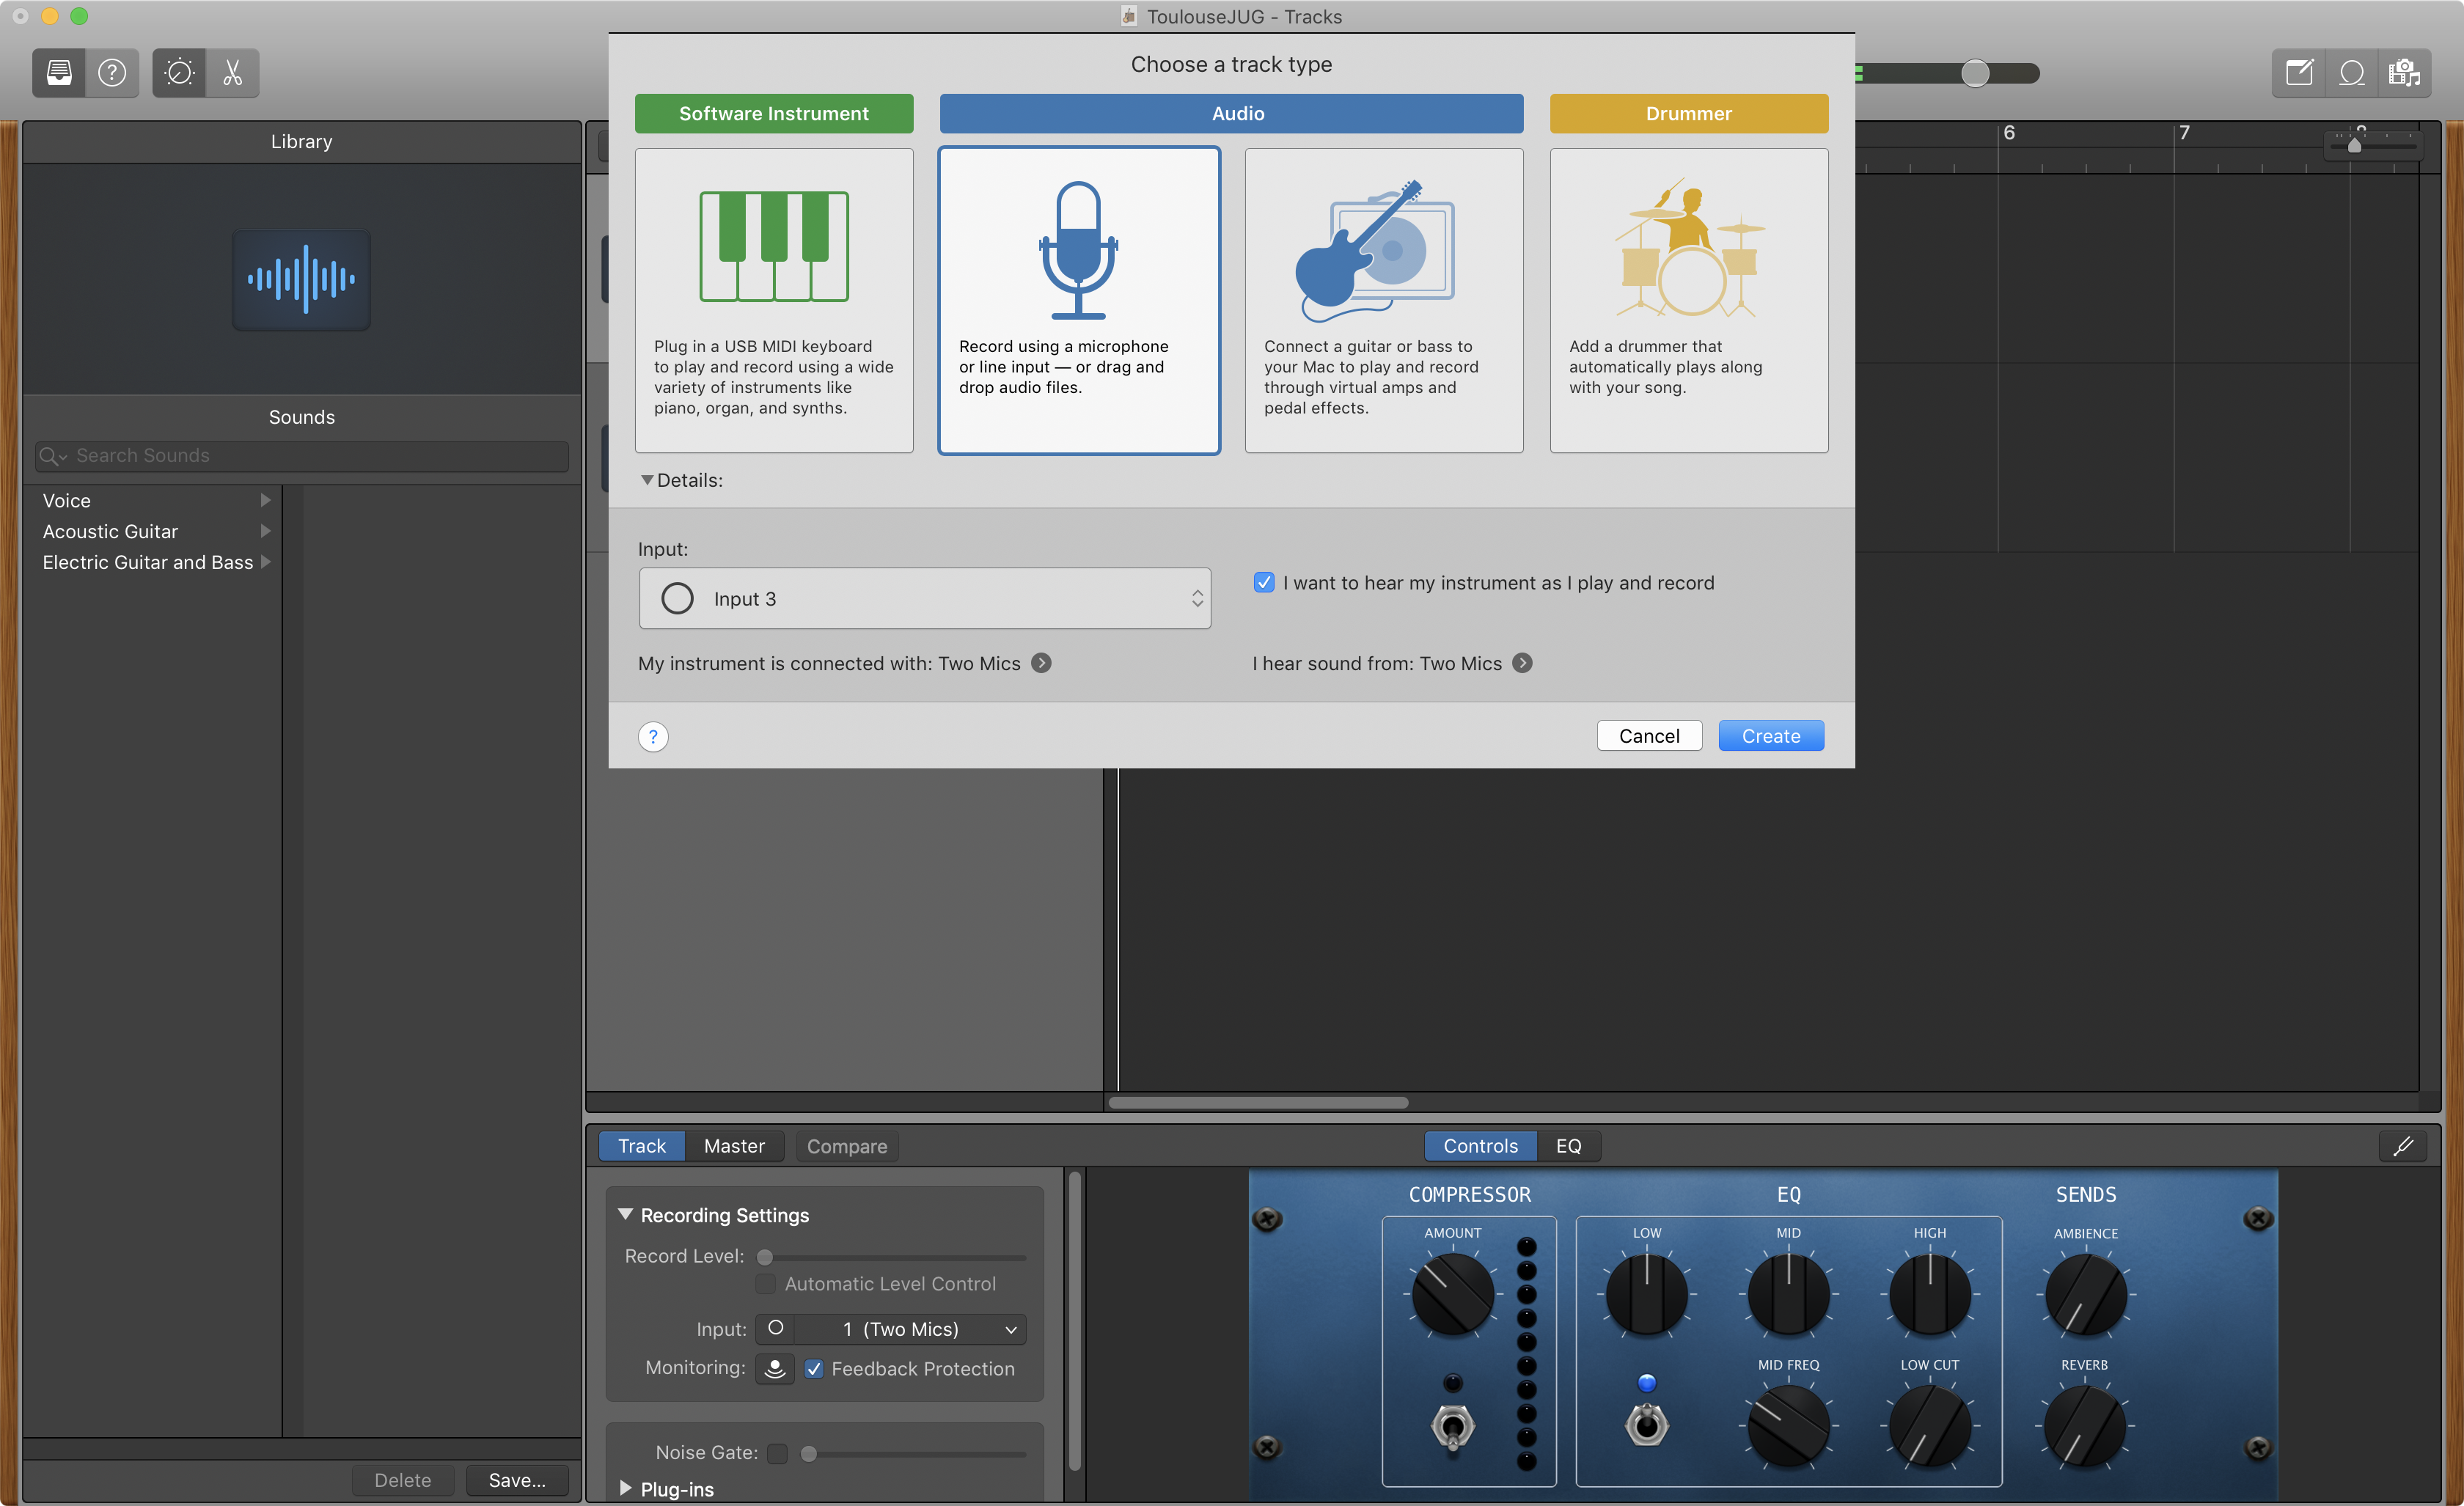
Why “Input 1” and “Input 3”? I have no idea, but it works :thumbsup:
Give your tracks names, it’s more pleasant.
And finally, with your two tracks in place, go to the Track(s?) top menu and select
“Configure Track Header…” to display the little record control to each of your tracks:
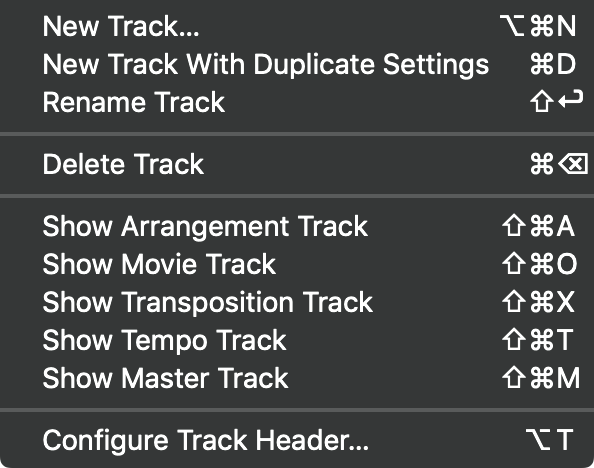
Select "Configure Track Header..."
Selecting the menu should show this popup where you can select the “Record Enable” checkbox:
If you want your recording to get both input simultaneously, Shift + Select both tracks’ little red record buttons.
And you’re good to go!
Last thought
- Don’t forget to bring a power strip!
- Don’t forget to bring spare batteries for the microphones transmitters!
The Duracell Powercheck are actually pretty good for that matter:

Duracell Powercheck
As their name suggest they have this little “Power check” which kinda looks like a colored bar chart that lights up when you touch the right spot, and tells you how much is left before it’s empty.
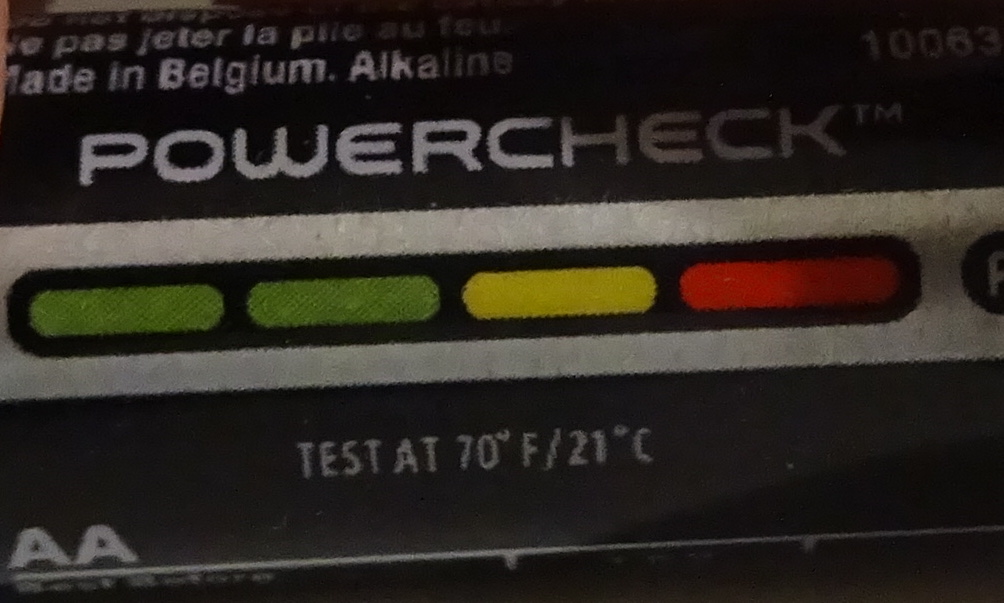
Powercheck demo
Until we change our equipment to something with a Lithium-ion batteries… ?
That’s it!
This blog uses Hypothesis for public and private (group) comments.
You can annotate or highlight words or paragraphs directly by selecting the text!
If you want to leave a general comment or read what others have to say, please use the collapsible panel on the right of this page.